
Let’s be honest: your bathroom is the last place anyone expects a Halloween glow-up—and that’s exactly why it’s the perfect spot to go wild. Think spooky, cheeky, and a little dramatic. Ready to turn a utilitarian space into a mini haunted hideaway? Grab your faux cobwebs and let’s make some magic.
1. Swap In Spooky Shower Curtains
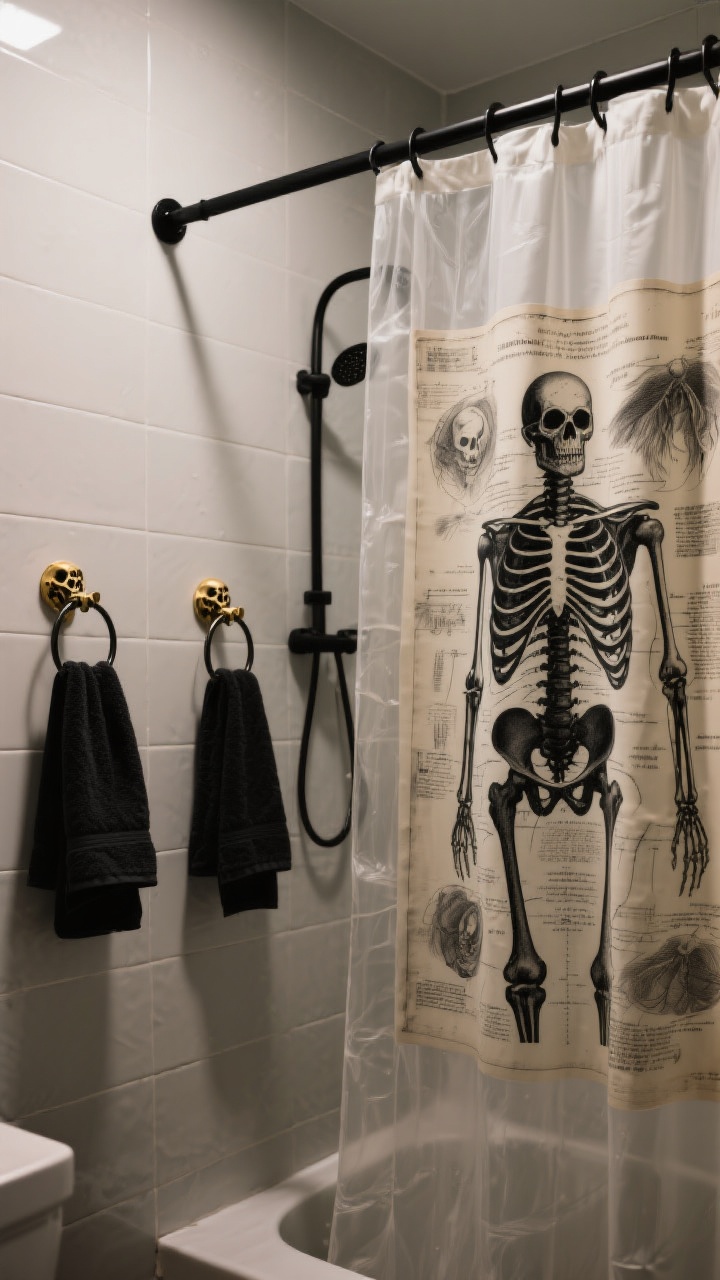
Your shower curtain is prime real estate—go big here. Choose a bold print like vintage anatomy diagrams, haunted forest silhouettes, or a cheeky “Get Out” in dripping letters. It’s instant atmosphere with zero commitment.
Quick Tips
- Layer a clear curtain with a printed liner for depth (and splash protection).
- Pick black matte hooks or brass skull clips to tie it all together.
- Short on storage? Use double-hook rings so towels hang behind the curtain—tidy and spooky.
2. Cast a Spell With Moody Lighting
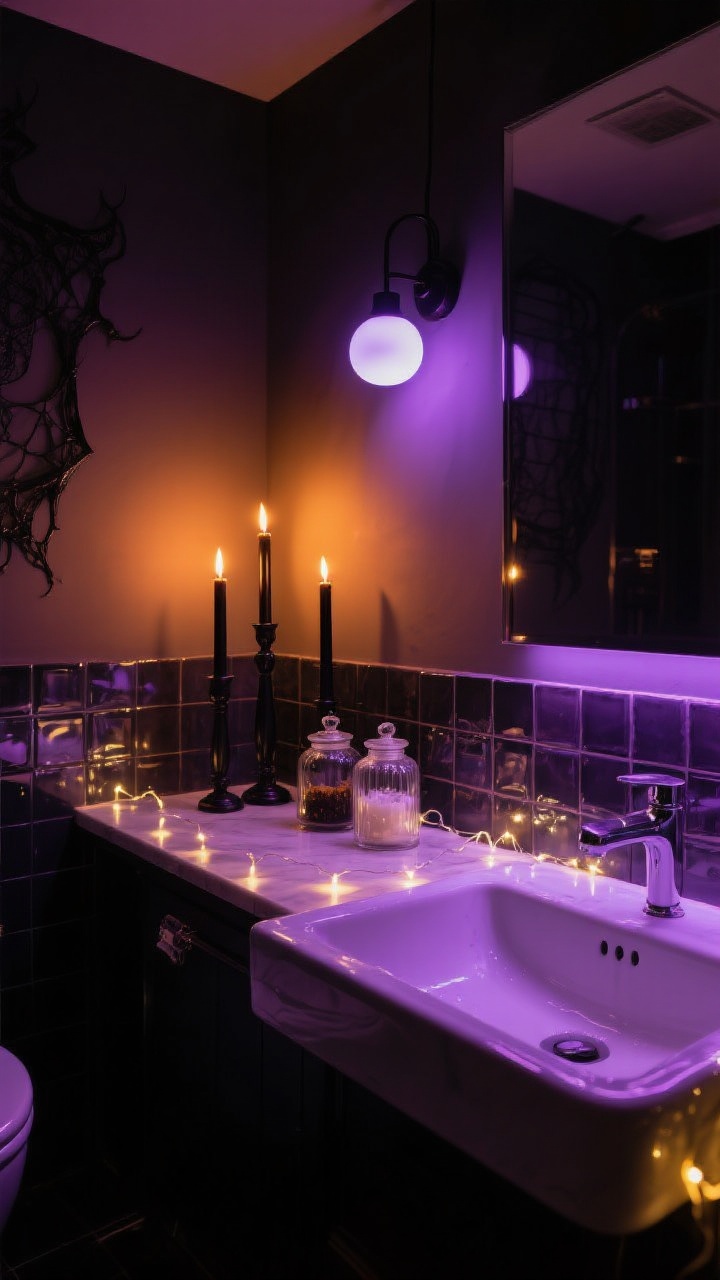
Lighting is your secret weapon. Swap bright bulbs for warm amber or purple LEDs and watch the room transform. Add battery-operated taper candles on the vanity for a gothic, flickering glow.
Quick Tips
- Use smart bulbs to switch from “witchy” to “workday” without moving a muscle.
- Tuck fairy lights into apothecary jars for a subtle, enchanted vibe.
- Keep lights away from water and stick to battery-powered options near the sink—safety first, ghoul.
3. Turn Your Mirror Into a Haunted Portrait
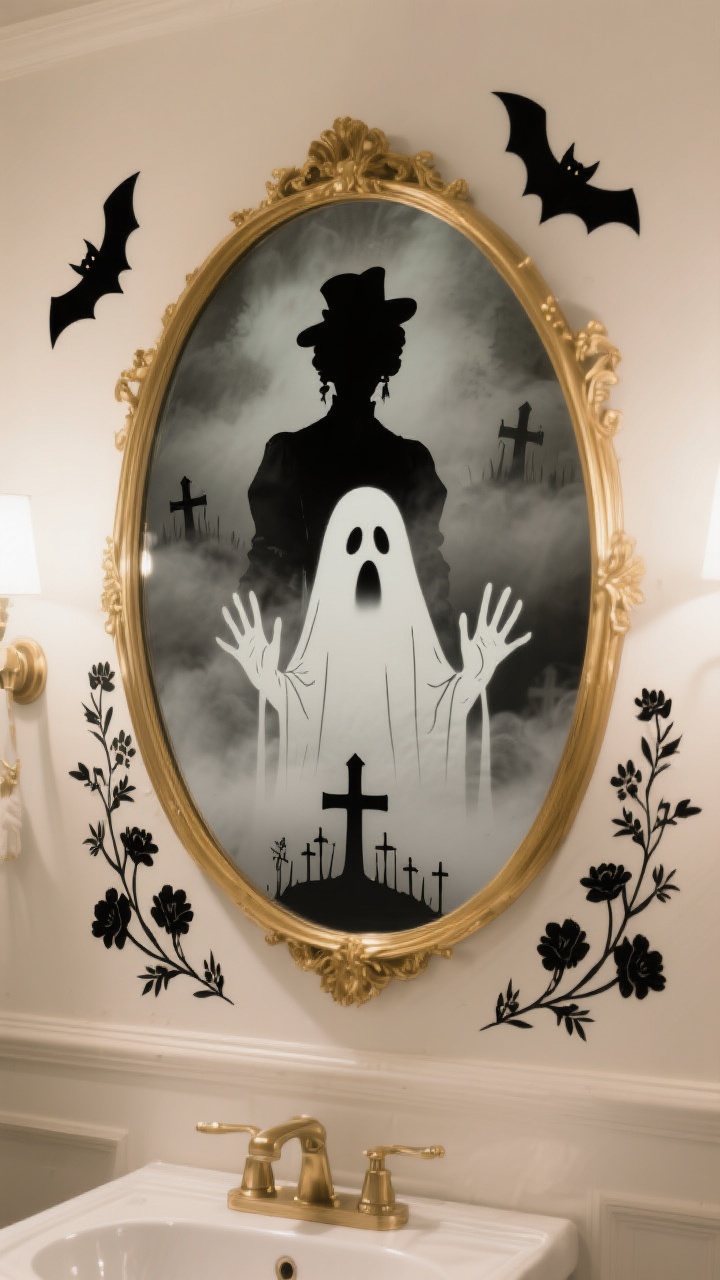
The mirror is where the drama happens. Add a vinyl decal—think ghostly hands, creepy eyes, or a Victorian silhouette—so it peeks through your reflection. Frosted-spray patches can create that “foggy graveyard” look without permanent damage.
Quick Tips
- Use cling film overlays so you can remove them post-Halloween without residue.
- Frame the mirror with stick-on bats or black florals for an editorial edge.
- Hang a gold oval mirror if you want that luxe haunted mansion mood.
4. Dress Your Counter Like an Apothecary
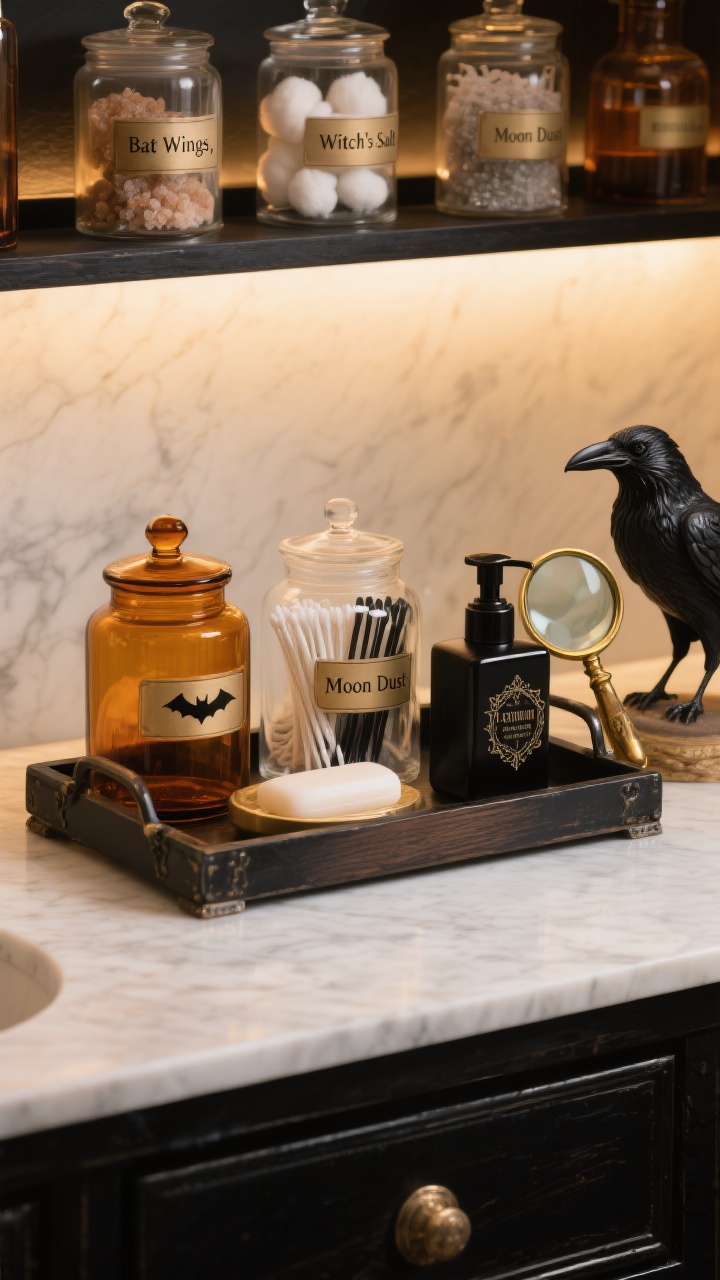
Trade everyday bottles for a spooky potion setup. Fill amber or clear apothecary jars with cotton balls, flossers, and bath salts, then label them “Bat Wings,” “Witch’s Salt,” or “Moon Dust.” Practical? Yes. Adorable? Also yes.
Quick Tips
- Add a tiny raven figurine or brass magnifying glass for vibes.
- Decant hand soap into a black pump bottle with a gothic label.
- Use a tray to corral everything—clutter looks chic when it’s contained.
5. Go All-In on Themed Textiles
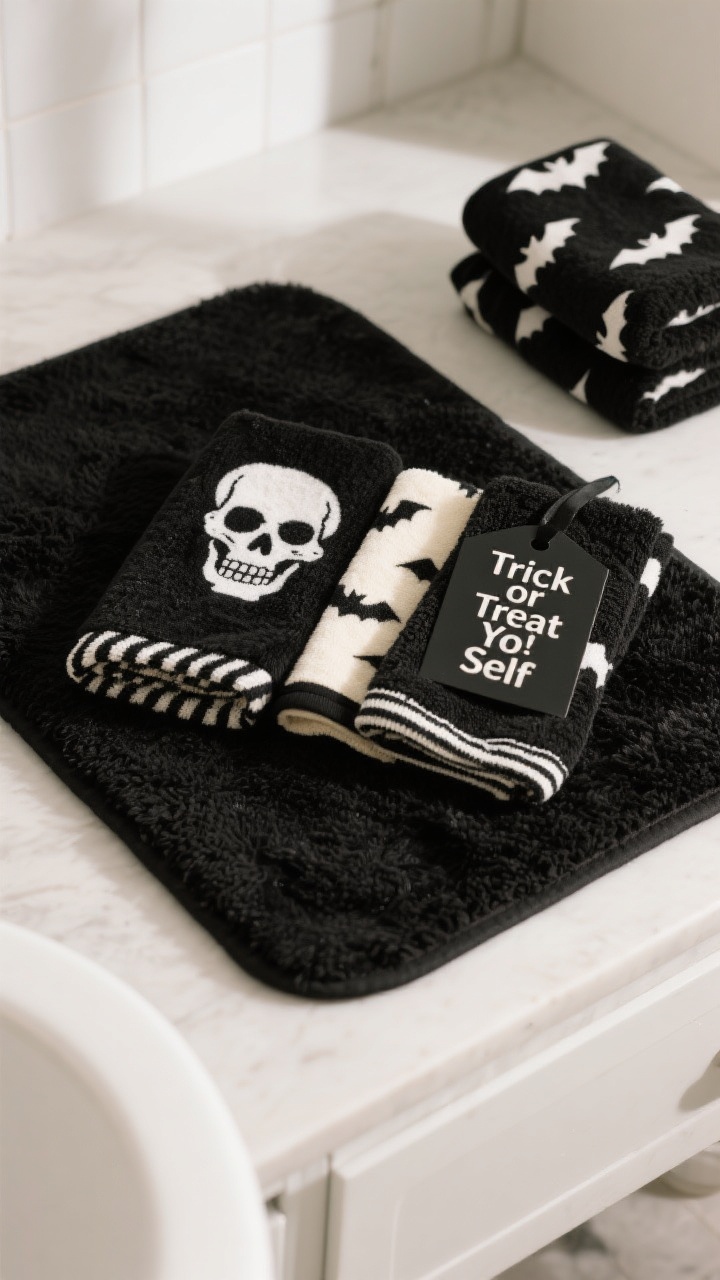
Textiles are the easiest swap with the biggest impact. Think skull-print hand towels, a plush black bath mat, or a cheeky “Trick or Treat Yo’ Self” towel set. Keep it cohesive so it reads spooky, not chaotic.
Quick Tips
- Choose one palette—black and cream for classy, orange and purple for fun.
- Stick to two patterns max (e.g., bats + stripes) to keep it polished.
- Have a backup towel set for guests—nobody wants to wipe on purely decorative bats, FYI.
6. Add Unexpected Ceiling Drama
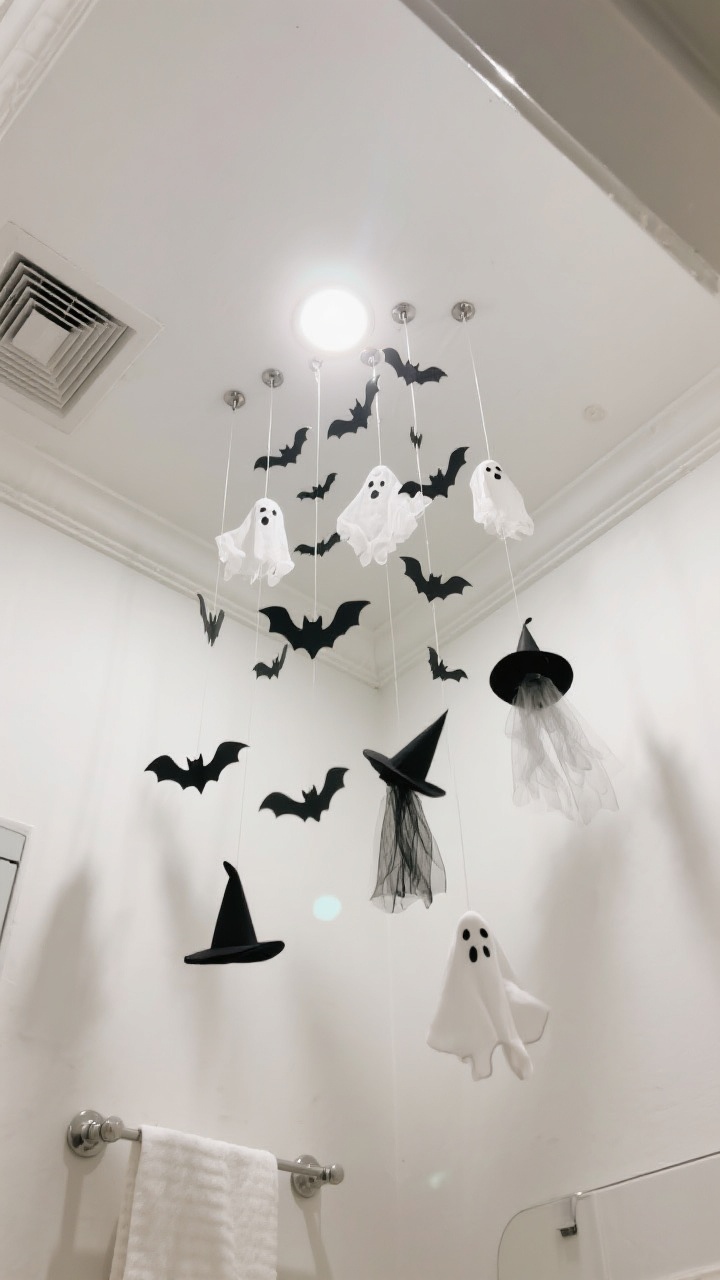
Everyone decorates the vanity—almost nobody decorates the ceiling. Suspend a cluster of paper bats, mini witch hats, or tulle “ghosts” with clear fishing line. It creates movement and makes the room feel immersive.
Quick Tips
- Use Command hooks so removal is painless.
- Vary heights for a swarm effect.
- Got a vent fan? Keep decor away so nothing gets sucked in—no one wants a bat in the blower, IMO.
7. Style a Sinister Shelfie
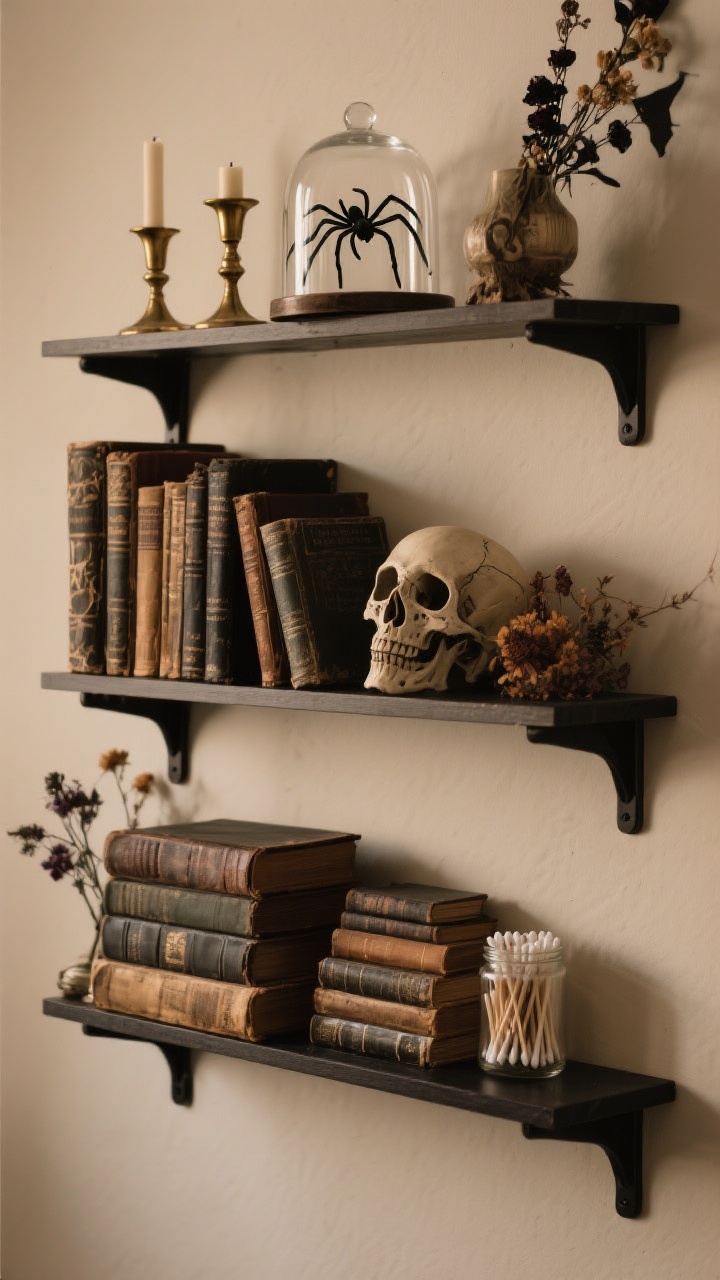
If you’ve got shelves, they’re your mini stage. Layer old books, brass candlesticks, faux skulls, and dried florals for a witchy library feel. Add one weird object (think a cloche with a plastic spider) to spark conversation.
Quick Tips
- Think high/low: mix dollar-store finds with one or two quality pieces.
- Use odd-number clusters (groups of 3 or 5) for a styled look.
- Keep a clear zone for essentials so guests don’t have to move your art to find a Q-tip.
8. Create a Creepy Sinkscape
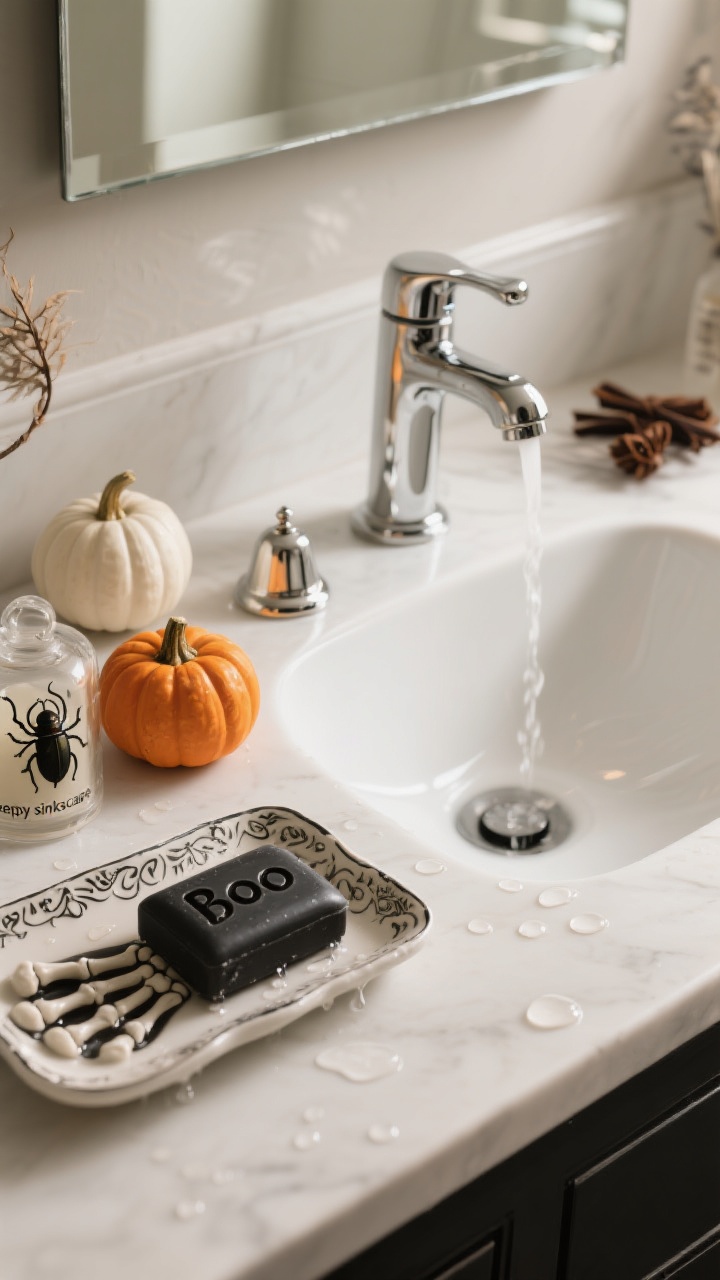
The sink is a high-traffic moment—make it count. Swap your standard soap dish for a skeleton hand, and add a black soap bar that says “Boo.” A mini pumpkin or two? Always a win.
Quick Tips
- Use a decorative tray to keep water drips contained.
- Pick moody scents like cedar, clove, or smoked vanilla to set the tone.
- Add a tiny bell jar with a faux bug for a subtle scare.
9. Lean Into Cobwebs (But Keep It Chic)
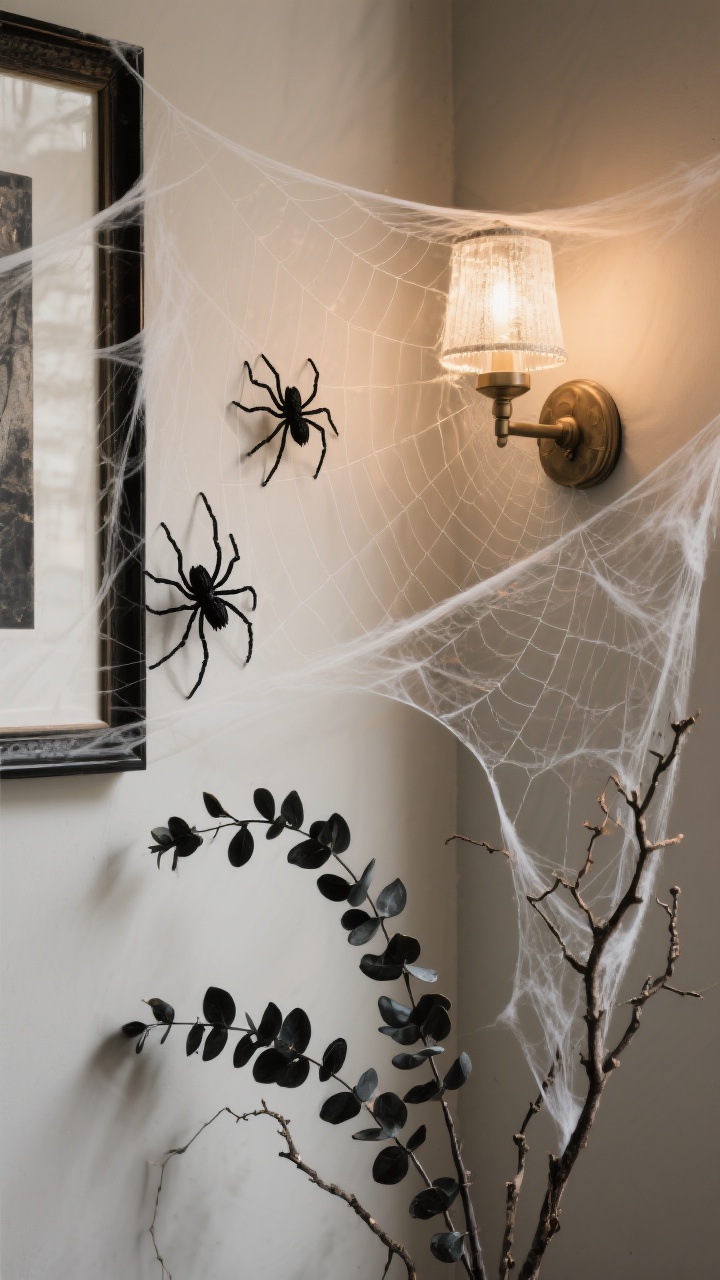
Faux cobwebs can look amazing—or like you’ve ignored housekeeping since 2011. The trick is restraint. Stretch them thinner than you think across corners, sconces, and artwork for that elegant decay vibe.
Quick Tips
- Place one or two large spiders instead of a hundred tiny ones.
- Avoid areas that get wet—water equals lumpy webs.
- Pair with black eucalyptus or dried branches for a stylized look.
10. Upgrade the Throne Zone
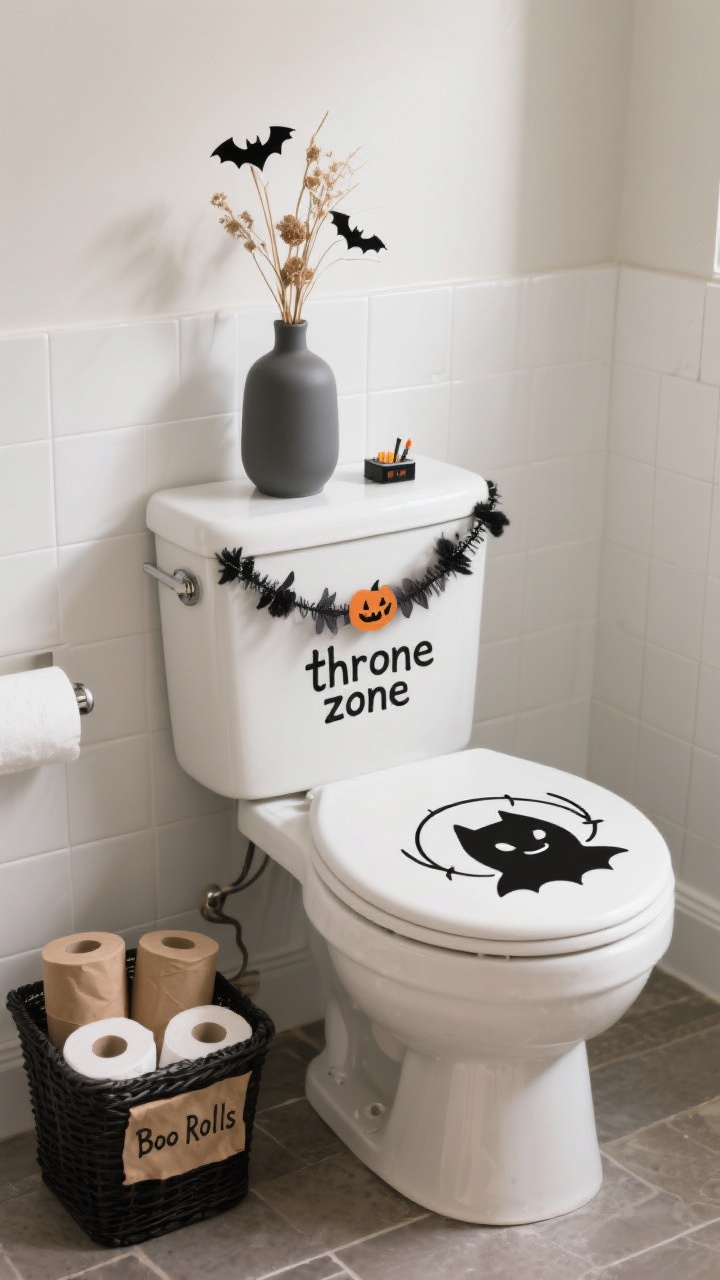
Don’t ignore the toilet—it’s the main event, let’s be real. Add a seasonal lid cover or a tasteful vinyl decal on the tank. A black basket with extra TP wrapped in kraft paper and labeled “Boo Rolls” is both cute and helpful.
Quick Tips
- Set a mini wreath or bat garland on the tank for an easy flourish.
- Use a low-profile vase with dried stems so it doesn’t crash to the floor.
- Keep a lighter or match striker nearby if you’re doing candles—practical and moody.
11. Frame Ghastly Art (Printable-Friendly!)
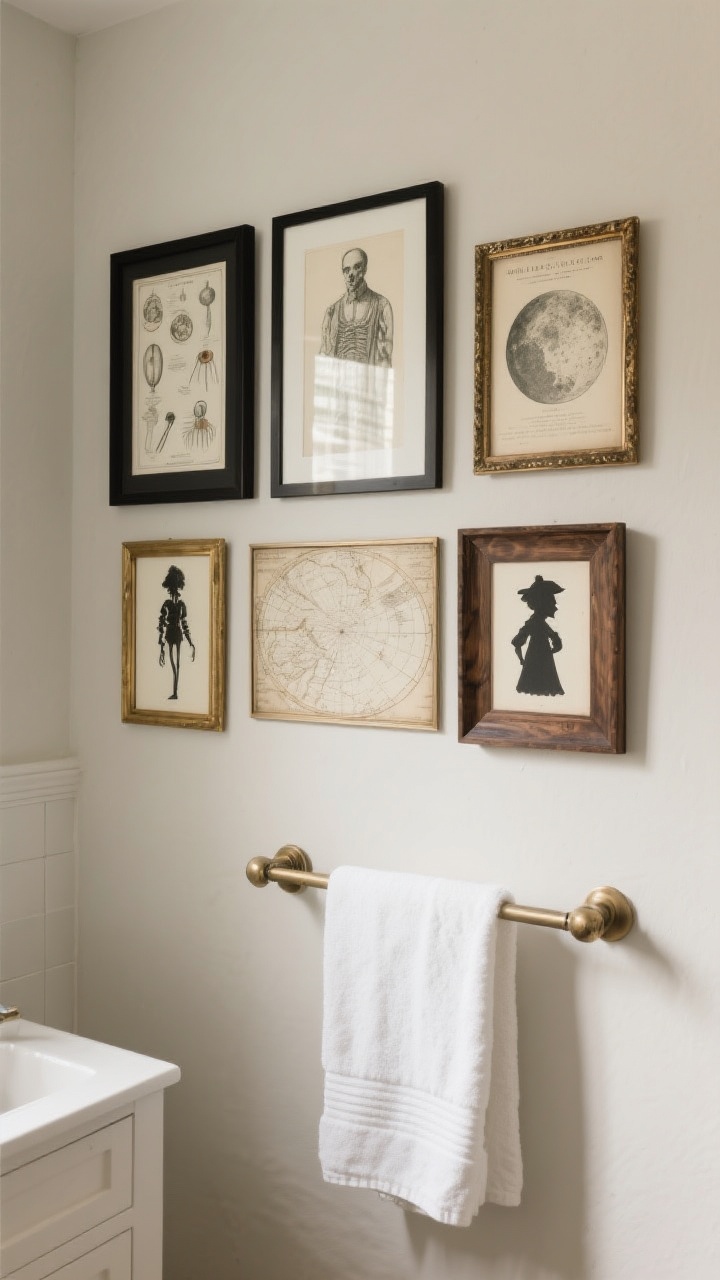
Art makes everything feel intentional. Swap your usual prints for vintage medical illustrations, lunar maps, or Victorian silhouettes. Printables are your friend—just pop them into frames you already own.
Quick Tips
- Choose black, brass, or antique wood frames to fit the vibe.
- Create a mini gallery wall above the towel bar or next to the mirror.
- For steam-prone bathrooms, use laser prints or laminate to avoid warping.
12. Add One “Jump-Scare” Moment
Every great Halloween setup needs one good scare. Place a motion-activated cackling witch behind the door, a “bloody handprint” cling on the shower glass, or a skeleton perched on the edge of the tub. It’s campy, unexpected, and totally memorable.
Quick Tips
- Keep it kid-friendly if little goblins are visiting—boo, not trauma.
- Use removable adhesives to protect paint and tile.
- Test motion sensors so they don’t go off at 3 a.m. and freak out the cat, FYI.
Bonus Styling Playbook (Because You’re Extra)
- Color Palettes: Moody Luxe (black, brass, deep plum), Whimsical (black, white, orange), Minimal Haunt (charcoal, cream, eucalyptus green).
- Materials Mix: Velvet ribbon, matte black metal, smoked glass, and rough linen—texture is everything.
- Scent Story: Clove + cedar for haunted library, pumpkin chai for cozy, eucalyptus + smoke for spa-meets-spellbook.
Easy Cleanup Plan
- Store decor in labeled bins by zone (mirror, sink, shelf) for faster setup next year.
- Use reusable decals and hooks to save money and walls.
- Wipe surfaces with a microfiber cloth after removing cobwebs to catch stray fibers.
There you have it: a bathroom that’s equal parts spooky and stylish. Pick a few ideas or go full haunted mansion—either way, your guests will be talking. Now light the candles, cue the cackles, and enjoy your very own five-minute fright fest every time you wash your hands.