
Ready to give your tree main-character energy this year? Let’s skip the same-old tinsel situation and go for a look that feels luxe, personal, and totally you. From color stories to clever ribbon hacks, these ideas are fun, doable, and seriously photogenic.
1. Start With a Wow-Worthy Color Story
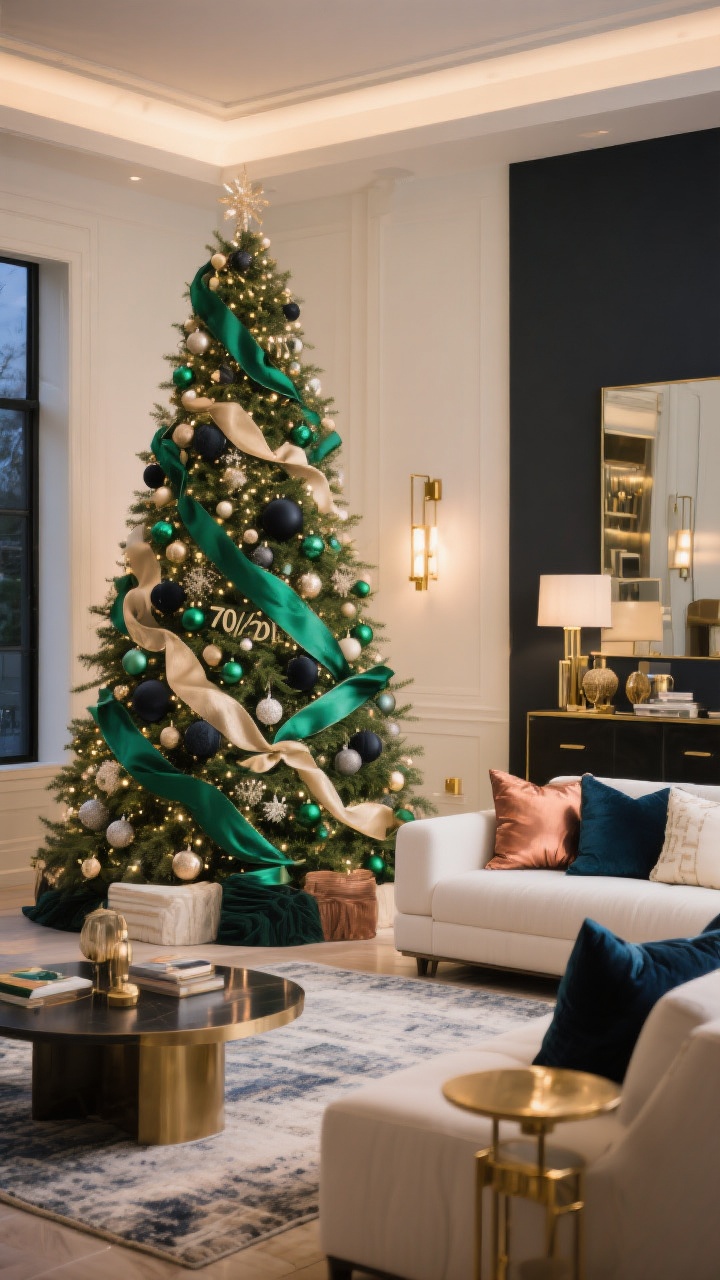
Before you hang a single ornament, pick a color palette. It’s the secret to making your tree look designer-level without trying too hard. Two to three colors is the sweet spot—think emerald + champagne + charcoal or navy + copper + cream.
Pro Tips
- Anchor with one metallic (gold, silver, or copper) for instant glow.
- Use your palette in 70/20/10 proportions: one dominant color, one secondary, one accent.
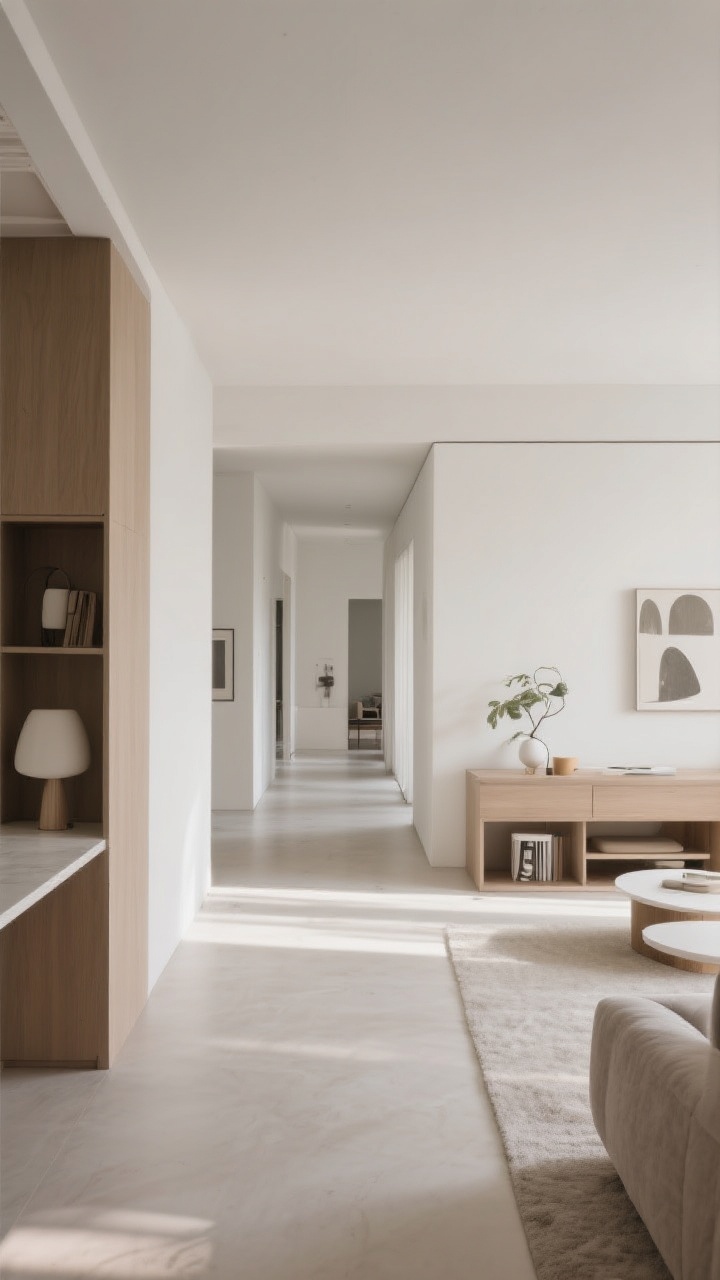
- Not sure where to start? Pull colors from your rug or sofa so the whole room vibes together.
2. Fluff, Fill, and Fake the Fullness
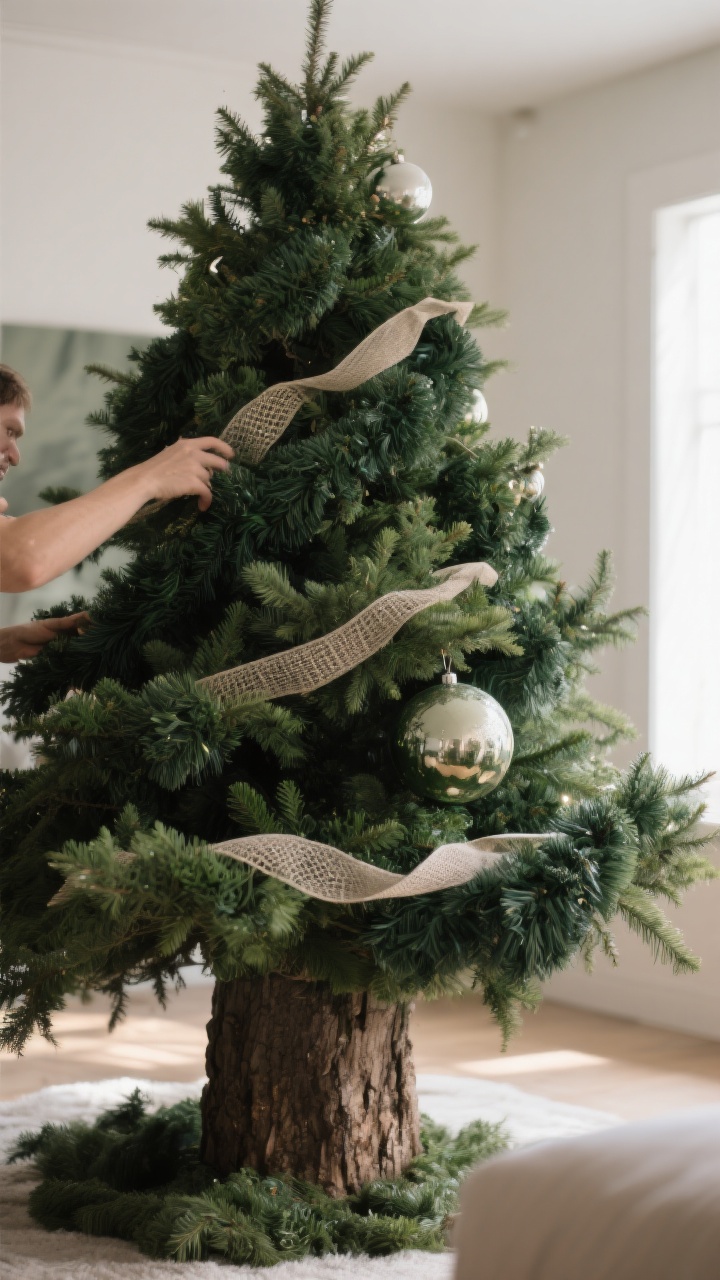
A lush base makes everything look better—like good skincare for your tree. Spend 10–15 minutes fluffing branches and you’ll be shocked at the difference. Got a skinny tree? No shame—just fill gaps like a pro.
How to Fake a Fuller Tree
- Layer in green garlands or faux picks deep inside to bulk it up.
- Use large ornaments in the inner branches to add depth.
- Wrap the trunk with mesh or ribbon to blur empty spots (sneaky but effective).
3. Wrap Lights Like a Stylist (Not a Spiral)
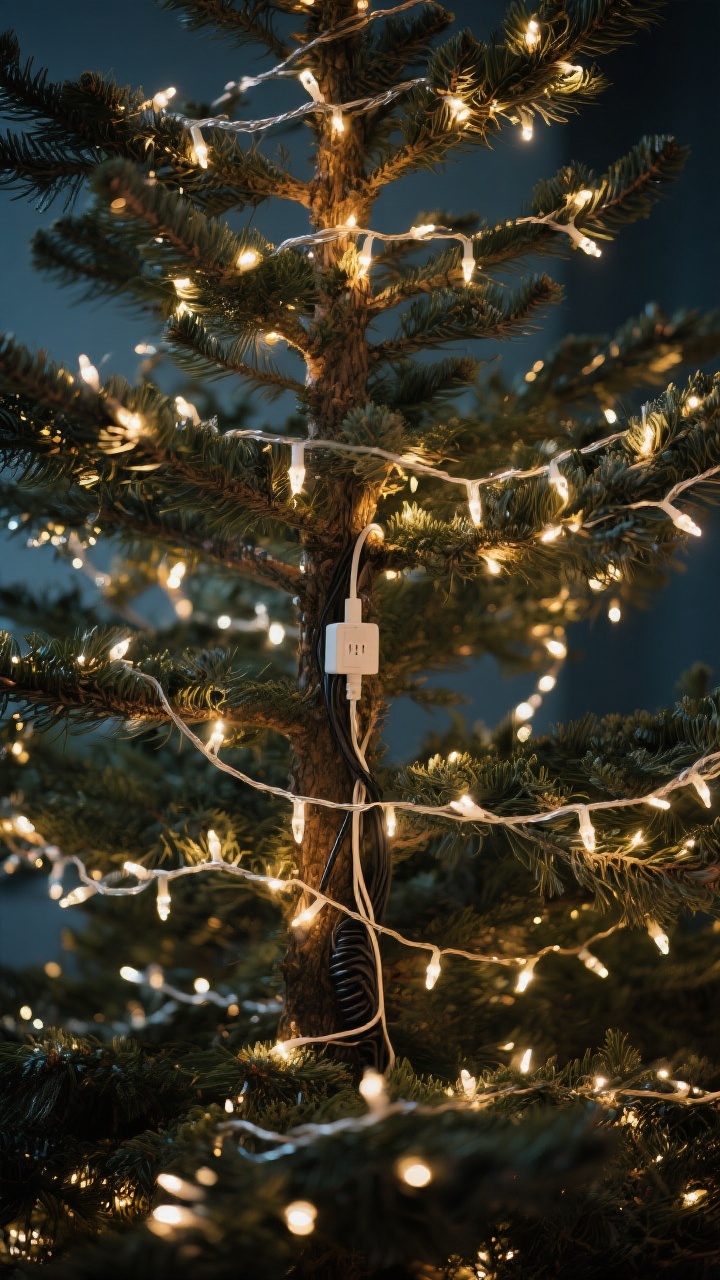
FYI: Spiraling lights around the outside leaves the core sad and shadowy. Instead, work in vertical sections from top to bottom, weaving lights in and out of the branches. The result? A glow that looks rich and layered.
Lighting Formula
- Plan on 100 lights per foot of tree height for that magical twinkle.
- Mix warm white with a strand of micro fairy lights for dimension.
- Hide the plug and extra cord in the back—visible cords are joy-stealers.
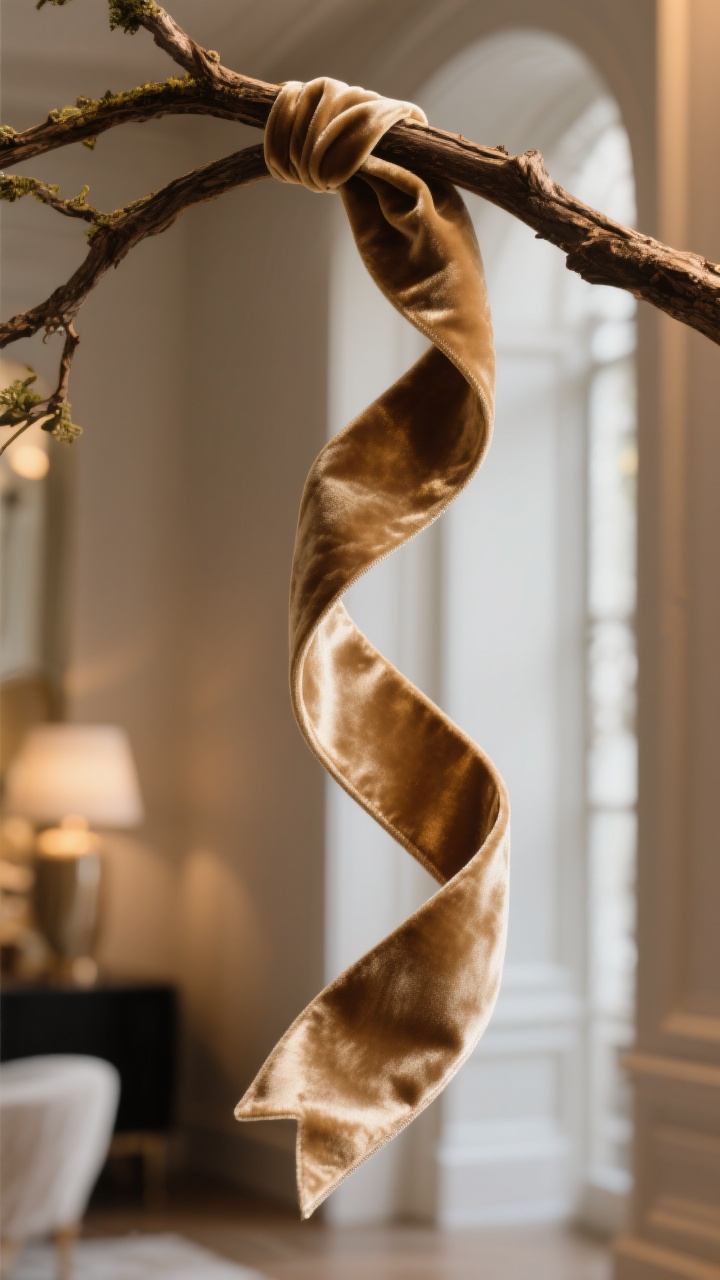
4. Ribbon That Looks Designer (Without the Drama)
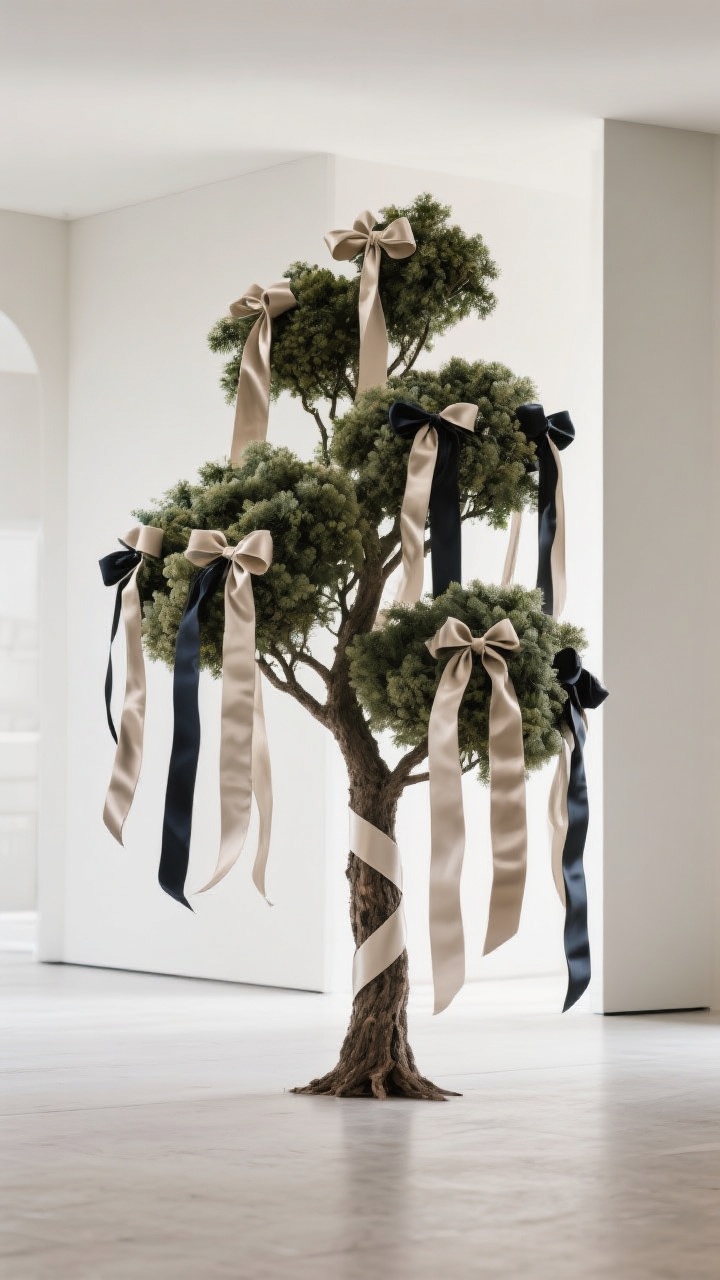
Ribbon is the quickest way to make your tree look expensive. Skip the tight spiral and try cascading tails or ribbon clusters tucked into branches. Wired ribbon is your best friend—shape it, fluff it, live your best life.
Ribbon Styling Ideas
- Use two widths (2.5-inch and 1.5-inch) for visual variety.
- Layer velvet over satin for texture that screams cozy glam.
- Create gentle S-curves from top to bottom and tuck ends deep into the tree.
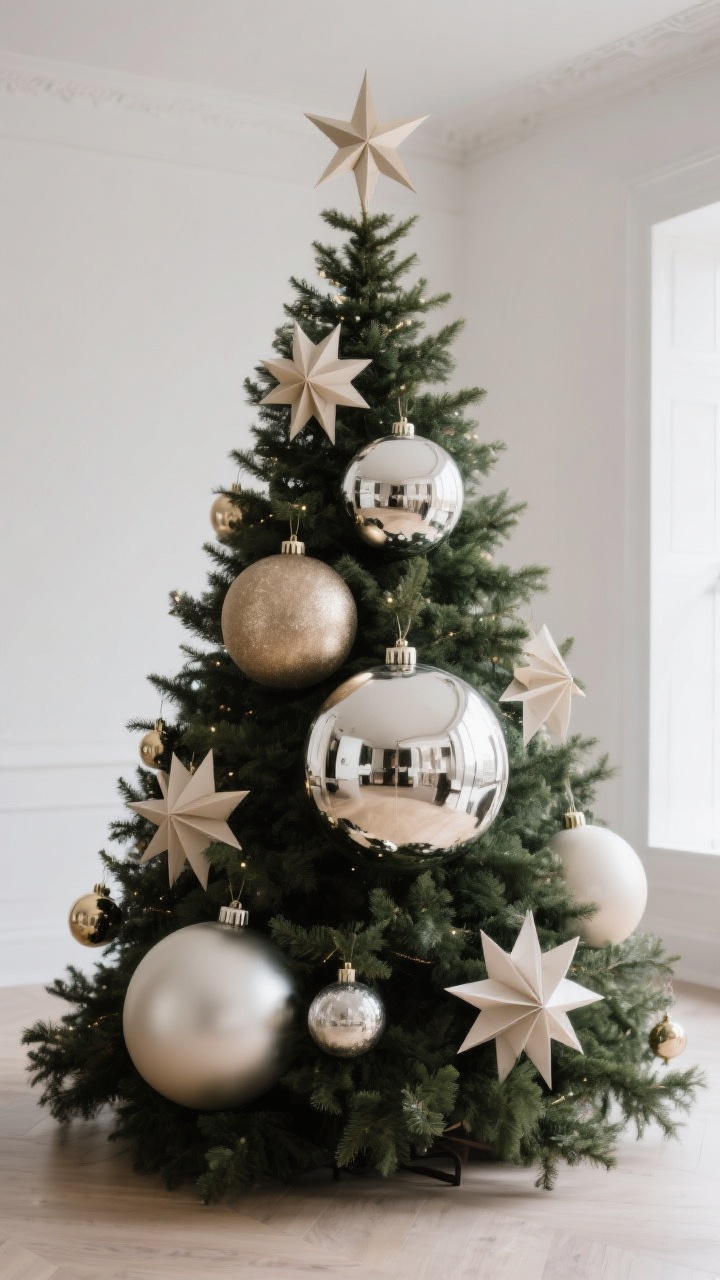
5. Go Big With Statement Ornaments
Small ornaments are cute, but big ornaments are powerful. Add a few oversized baubles, finials, or even quirky pieces (hello, giant paper stars) to break up the monotony. They’re your visual anchors.
Placement Tips
- Put large ornaments inside the tree to create depth.
- Cluster ornaments in groups of three (vary size and finish).
- Balance your statement pieces evenly from top to bottom and left to right.
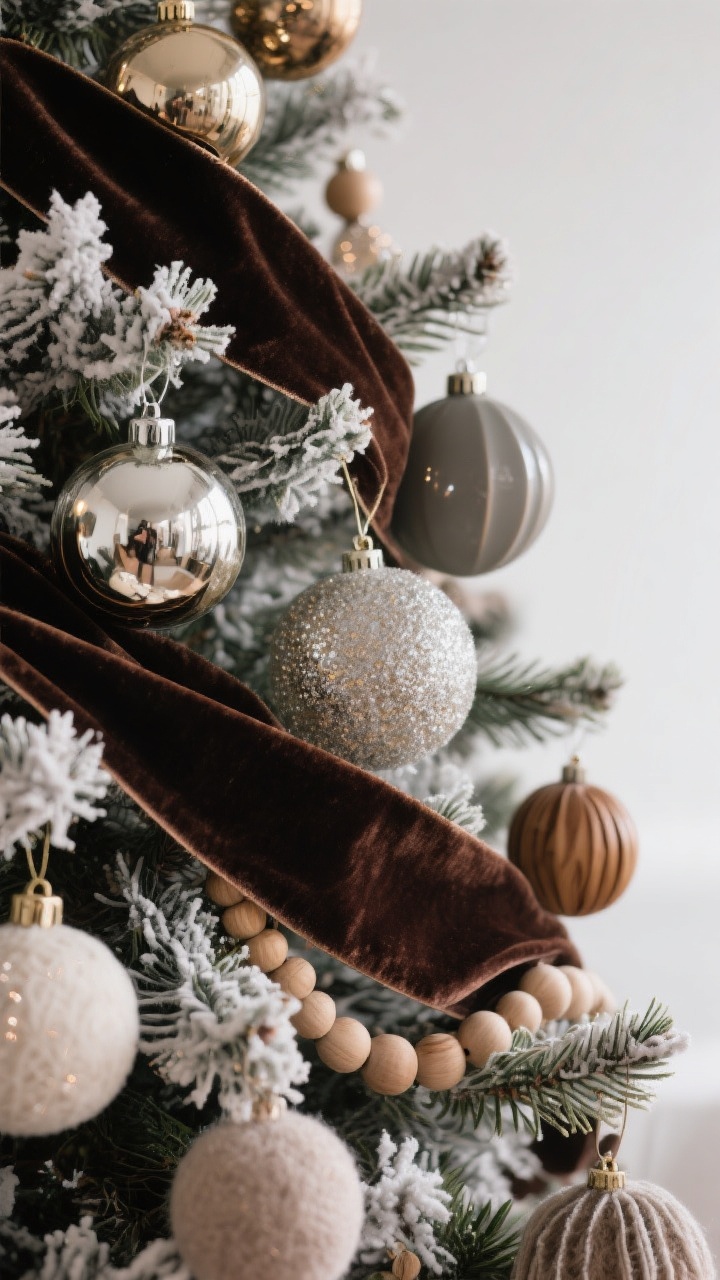
6. Layer Textures Like a Pro
The trick to a rich-looking tree is mixing matte, shiny, and natural textures. Think velvet ribbon, mercury glass, matte ceramics, wood, and felt. It feels curated, not chaotic.
Texture Mix Ideas
- Scandi Cozy: Wood beads, paper honeycombs, felt ornaments.
- Wintry Luxe: Velvet ribbon, mercury glass, flocked picks.
- Modern Metallic: Brushed brass, black matte ornaments, acrylic.
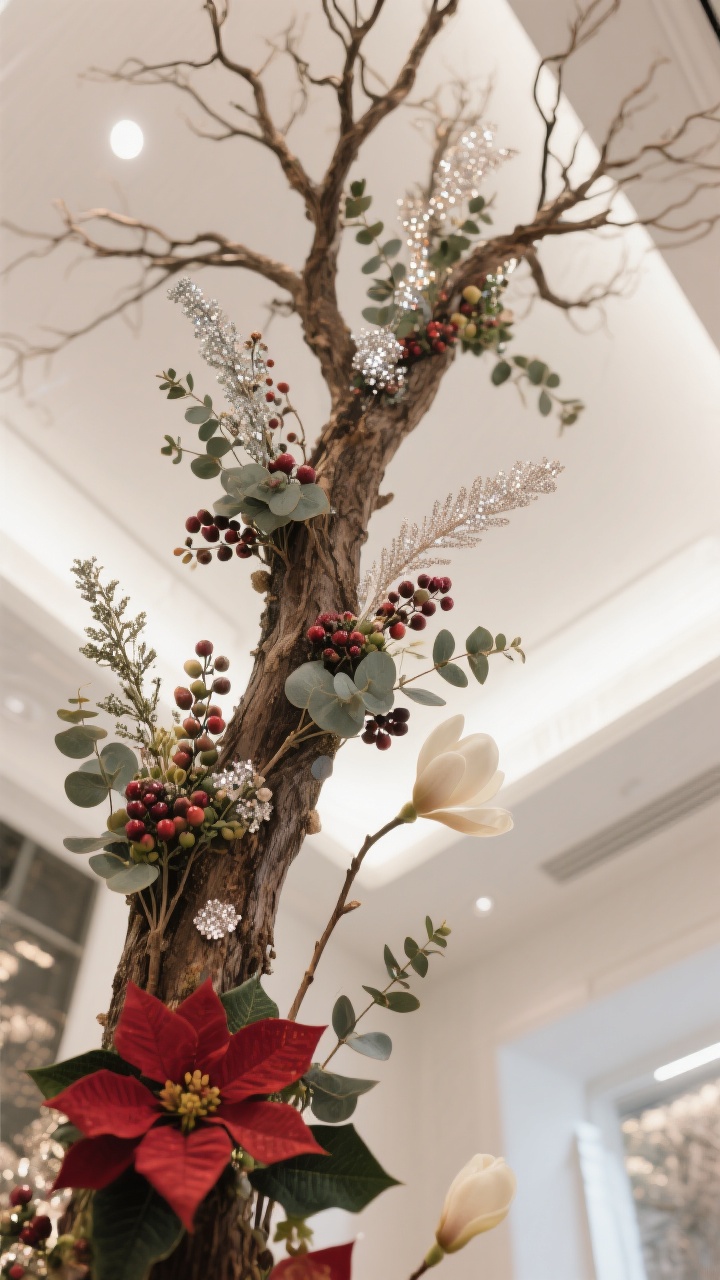
7. Add Picks, Sprays, and Florals for Drama
Want that editorial, “did-a-stylist-do-this?” look? Insert floral picks and sprays throughout the tree. Eucalyptus, berry clusters, and glittery branches = instant drama.
How to Use Them
- Tuck greenery and berries into bare spots first.
- Angle sprays upward near the top to extend the silhouette (taller tree, who dis?).
- Finish with a few standout floral stems in your palette—poinsettias, magnolia, or dried hydrangea.
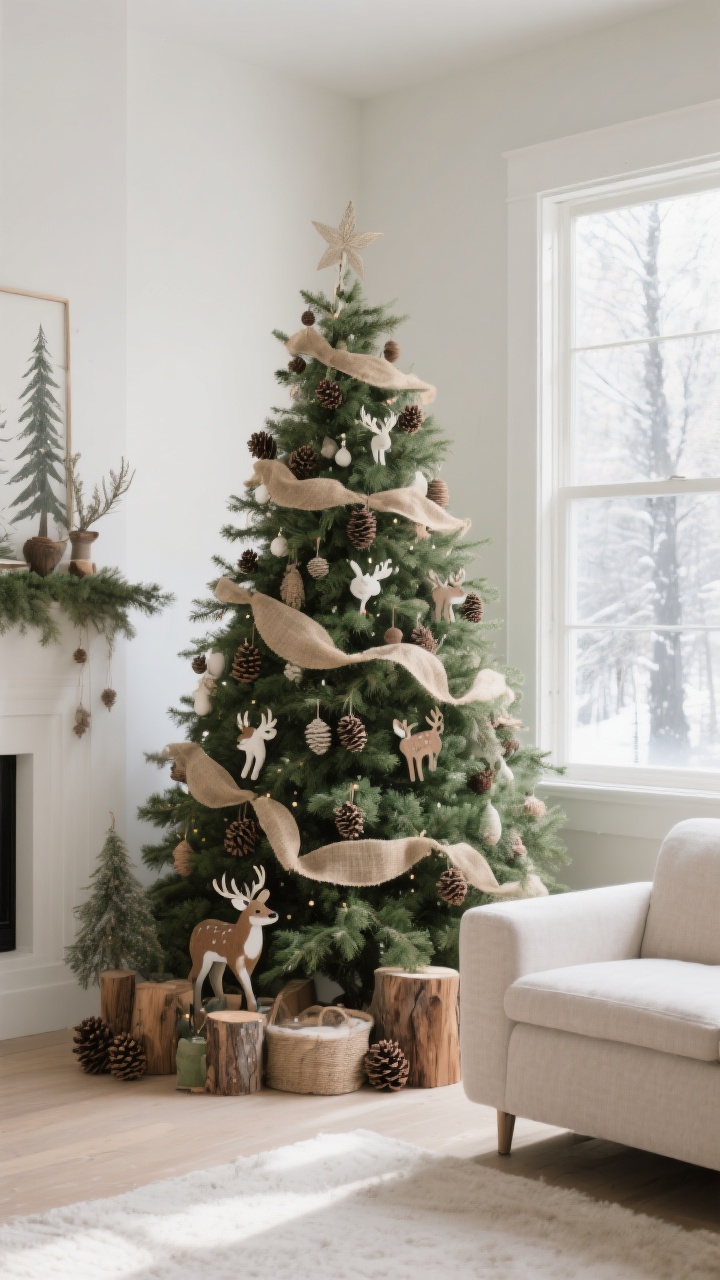
8. Tell a Story With Themes (Without Going Cheesy)
You don’t need a theme, but a loose story keeps things cohesive. Think “Winter Forest,” “Vintage Glam,” or “Coastal Noel.” Keep your theme in the ornaments, textures, and colors—not cartoon characters, IMO.
Theme Ideas That Feel Chic
- Winter Forest: Greens, wood, pinecones, woodland animals, burlap ribbon.
- Vintage Glam: Tinsel, mercury glass, glass icicles, beaded garland.
- Monochrome Minimal: All-white ornaments, matte black accents, clear glass.
- Coastal Calm: Sea-glass hues, shells, linen ribbon, driftwood stars.
9. Rethink the Topper and Skirt (The Outfit Matters)
The topper and base are the earrings and shoes of your tree. A classic star is lovely, but consider a floral spray topper, rustic bow, or an oversized starburst for something fresh. And for the base, skip the thin skirt and go bold.
Top and Bottom Ideas
- Topper: Combine stems of eucalyptus, glitter branches, and ribbon tails for a custom finish.
- Tree Skirt Alternatives: Use a basket collar, chunky knit throw, faux fur rug, or layered textiles.
- Match the topper’s metallic to your ornament hardware for polish.
10. Make It Personal (But Make It Chic)
The best trees feel lived-in and loved. Mix your heirloom ornaments with your new buys and create a few personalized moments—just keep them within your palette so it still looks cohesive.
Personal Touch Ideas
- Hang photo ornaments in black-and-white to keep them elegant.
- Use initial ornaments for each family member near their favorite spot on the tree.
- DIY a few ornaments with air-dry clay, dried oranges, or hand-painted baubles (low cost, high charm).
Quick Styling Checklist
- Pick your color story first.
- Fluff like your life depends on it.
- Light vertically, not just around.
- Layer ribbon, big ornaments, and picks for depth.
- Top it and ground it with intentional finishes.
There you go—ten simple, stylish ways to make your Christmas tree look custom and totally swoon-worthy. Start with the color palette, add layers, and don’t be afraid to edit as you go. You’ve got this—now go make your living room sparkle.